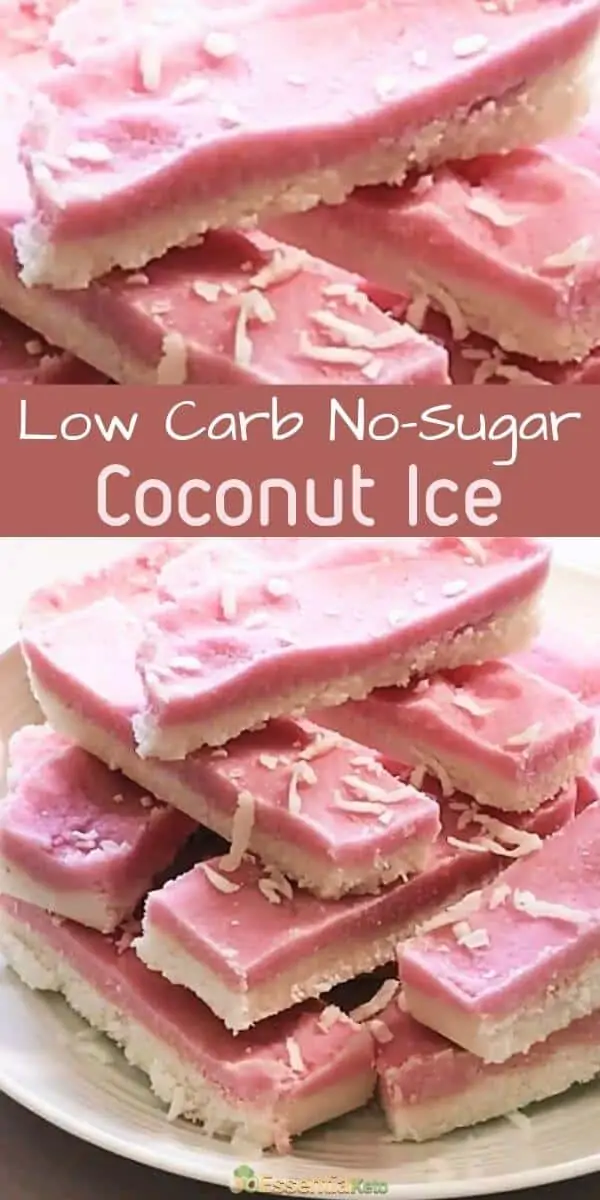
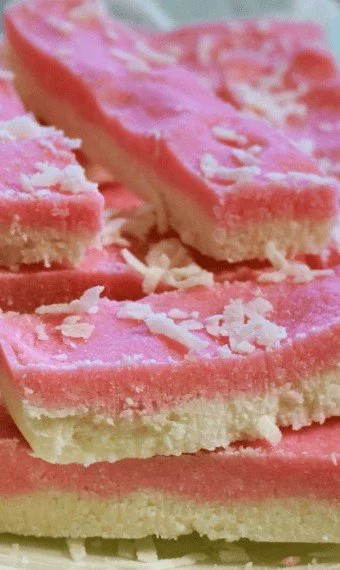
Sugar Free Coconut Ice – Raw and Vegan Goodness
Healthy, low carb and sugar free coconut ice treats for the occasional keto friendly snack you and your kids will love...

Updated now with a printable recipe card...
Do you have fond memories of coconut ice, but can’t imagine eating anything with so much sugar ever again?
Yeah me too.
As a child I didn’t like coconut, but I enjoyed coconut ice. Go figure! It must have been the condense milk and all the sugar with which the traditional treat is made.
Today I enjoy coconut, but my body can no longer tolerate sickening sweet snacks.
Fortunately it is easy to make this delicious snack without all the sugars and the carbs.
Enjoy this low carb coconut ice recipe but, if you are looking for more "modern" keto bites, then try these fat bombs...
Where to start
Get out your high powered blender and start with the white layer. When that is ready and cooling in the fridge, get started on the pink layer.
Once the second layer is done, let it cool in the fridge for 30 minutes and enjoy...
Nutritional Value
The macros for one serving is as follows...
Always double check your ingredients and calculate your own macros using a tool like MyFitnesssPal.
What I like about this recipe is that it is raw, vegan and child friendly.
Your children wouldn't know the difference and for that matter neither would your non-keto friends.
Printable Recipe
Sugar-free Coconut Ice

Low carb vegan and sugar-free coconut ice treat...
Ingredients
White layer
- 2 ½ cups of unsweetened desiccated coconut
- 2 tablespoons of coconut cream
- 1 tablespoon of coconut oil
- 1 teaspoon of natural vanilla extract
- 1 tablespoon of stevia powder
Pink layer
- 2 ½ cups of unsweetened desiccated coconut
- 2 tablespoons of coconut cream
- 1 tablespoon of coconut oil
- 1 teaspoon of natural vanilla extract
- 1 tablespoon of stevia powder
- 1 tablespoon of beet juice
Instructions
- To make the white layer - add 2 cups coconut to your food processor.
- Blend it until it becomes liquid. This may take 5 to 6 minutes unless you have a very powerful blender.
- Add the rest of the ingredients including the last ½ cup of coconut.
- Mix briefly until combined.
- Press the mixture into a lined 9” tray.
- Place the tray in the refrigerator whilst you make the pink layer.
- For the pink layer, repeat the steps you followed to make the white layer and add the beet juice for the pink color.
- When all the ingredients have been combined press the pink mixture over the top of the white layer and refrigerate for at least 30 minutes.
Slice and enjoy...
(Store in the fridge for up to 5 days.)
Notes
Net carbs were calculated by deducting fiber and sugar alcohols from the total carbs.
Note that I list this recipe as 1 gram of net carbs per portion. These are for small blocks. The big blocks in the picture are 2 portions and 2 grams each.
Your net carbs will also be dependent on how much coconut you use as well as the make and type and whether it contains added sugar or not.
Nutrition Information:
Yield:
28Serving Size:
1Amount Per Serving: Calories: 133Total Fat: 13gSaturated Fat: 0gTrans Fat: 0gUnsaturated Fat: 0gCholesterol: 0mgSodium: 0mgCarbohydrates: 4.6gNet Carbohydrates: 1gFiber: 2.8gSugar: 1.4gSugar Alcohols: 0.8gProtein: 1g
Nutritional information can vary depending on the specific ingredients you use. Always double-check with a carb calculator like MyFitnessPal.
Variations and Tips
You need a strong food processor to turn the shredded coconut into a liquid.
If you find this hard to do then replace ½ a cup of coconut for each layer with 4 table spoons of organic coconut butter. If you do this then add 1 ½ cup of coconut into the food processor and 4 table spoons of the butter.
You still want to keep ½ a cup of the desiccated flesh to the side to add with the secondary ingredients as you need this for the crunch.
The other thing is that sometimes the flakes can be drier. Maybe it is older, or it could be the brand. So if you need a little more fluid, add more cream or oil.
If in addition to the pink color, you also want a “pink flavor”, then add strawberry extract.
If you don’t like stevia, then replace it with two to three table spoons of erythritol.
Now here you’ll have to experiment. Readers often complain that my recipes are not sweet enough. Personally I already find coconut sweet. But if you know you like you sweet snacks sweeter, go for more.
You can also do a taste test. I find that sweeteners become less sweet when they are baked or cooked, but with a raw snack like this - let your taste buds do the talking for you.
If you are not making this for a party and are worried about the temptation of a sweet snack in your fridge, then you can easily just half all the ingredients.
In that case, you’ll want to use a smaller pan as the coconut ice will be too thin otherwise.
We process these two layers separately because it is easier to work with 2 cups of coconut at a time and it gives the white layer time to settle and harden enough for the two layers not to mingle.
But if you’d prefer to do it all together, then blend it all (except for the red coloring) together as above.
Once it is all blended, press half the mixture into your pan and refrigerate. Then add the coloring to the other half and mix gently until the mixture is pink.
Once your white layer has hardened add the pink layer to the top.

Share or Pin it to Save for Later!
What about You? Please comment below to let us know how you like our sugar free coconut ice recipe?

